
I’ve finally been able to get back onto my computer – my daughter’s computer has been playing up, so I’ve let her use mine for her games and schoolwork. As I was doing most of my internetting on my phone, and sitting for long periods at the computer hurts, I didn’t mind. But I find it easier to do blog posts on here rather than my phone, so I had to wait my turn. That’s how it works, right?
We’re a few weeks into the new school year, and with my daughter now in grade 5 I had hoped it would be easier for her after the summer break, but anxiety doesn’t go away that quickly. After a lot of stressing, research, and reaching my limit, I decided that I will homeschool her. Going to school was a constant trigger for her anxiety – even just talking about school – so I decided it would be best for now to remove it from the equation. I’m not a teacher, but I’ll still do my best to ensure her education doesn’t suffer. Fortunately, there are lots of resources and support online for it. Homeschooling isn’t that common here, and Queensland has some strict regulations about it, but it should be okay. I’m waiting on getting my registration approved, but even if I’ve somehow done something wrong on the application, I should have time to remedy it. I’ve also had a lot of high pain days with my arthritis, so that’s limited my desire to be on the computer and the speed I can crochet at, as well as how often I can do it. I’m starting to feel a bit better, so I’m hopefully going to be able to keep chugging along.
Last month I bought myself some bare/undyed cotton and wool. I’ve been wanting to play with dyeing it for a while but found it a little daunting. Even after I bought the yarn, I didn’t rush into it. I read a lot of blogs and sites about how best to dye, which was kinda overwhelming. There was a lot of contradictory information, so after a few weeks of research, I decided to distill it all and start with something simple. Since this was all experimentation I decided that it didn’t matter too much if I mucked it up. I could always say that was what I meant to happen! I bought some supplies for dyeing – stainless steel pots, a cooking thermometer, bottles for mixing dye, etc – and dove in.
Before I continue on, I want to make it clear that my experiences should not be taken as definite instructions. I’m a complete newbie at this, so I recommend doing a lot of research first. This is what worked for me with my first few batches, and will hopefully keep working for me. I’ll run you through what I did (which I now have to rewrite, because my browser crashed on me and didn’t save my last draft), and show you progress photos as we go.
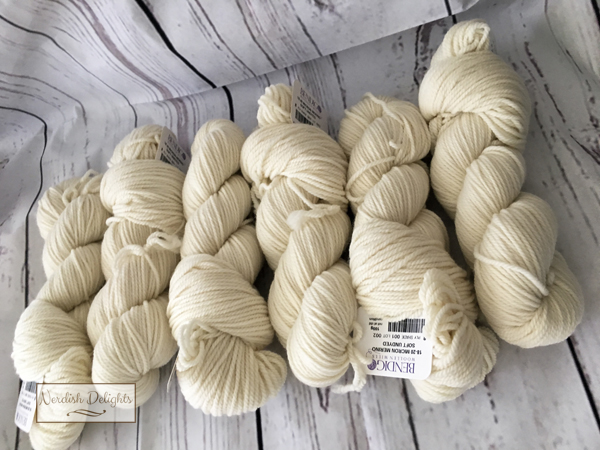
I bought six hanks of 100% Merino 8 ply from Bendigo Woollen Mills, which are all 100g and 200m.
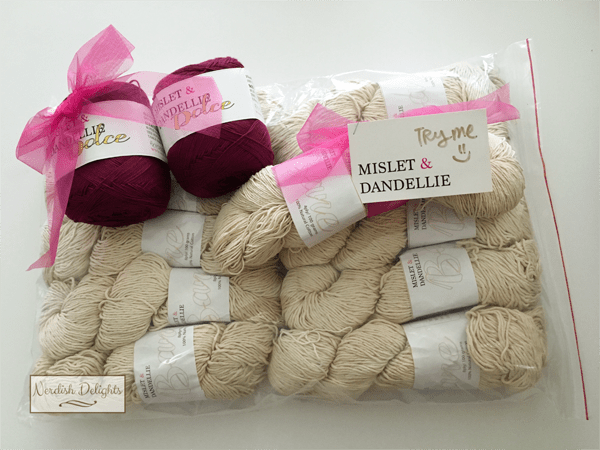
I bought two ten-packs of cotton from Mislet & Dandellie, along with some yummy Dolce and other stuff (check my Instagram for those photos – the subscription box is YUMMY). I was also given a 4 ply hank to try, which I think is awesome. Each hank is 8 ply, 100g and about 132m.
I started with two pots – one for cotton, one for wool. They need to be done separately, and as I was using Rit dye, they had to be pots that wouldn’t be used for food. So I bought a couple of 15 litre pots just for this. I’m probably going to be using acid dyes primarily, though I’ll try out some natural/food safe ones, too. I thought it would be better to have equipment just for dyeing, so that it would be easier to store and find.

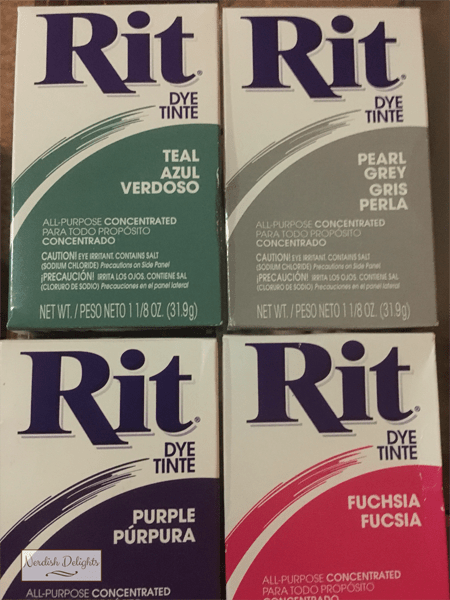
The dyes I chose were purple, fuchsia, teal, and pearl grey. I thought they’d work well together as solids and variegated.
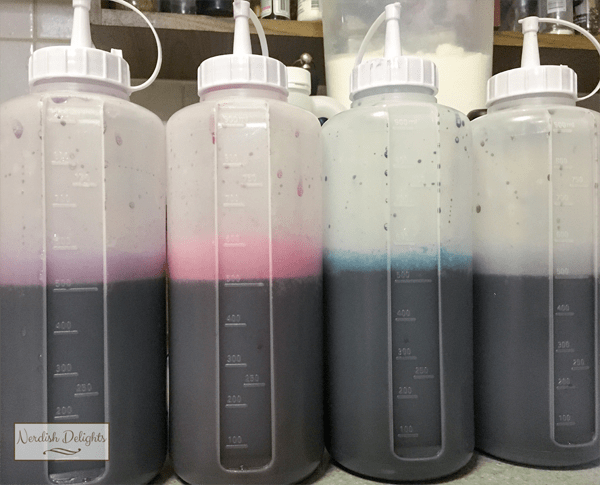
I also bought these 1 litre sauce bottles to use to hold the dye. Two cups of hot water with the powdered dye, which was made easy by the measurements on the side. I learnt that gloves are kinda important, even though I was only opening the powder packet and my hands were dry – I still got a little stained.
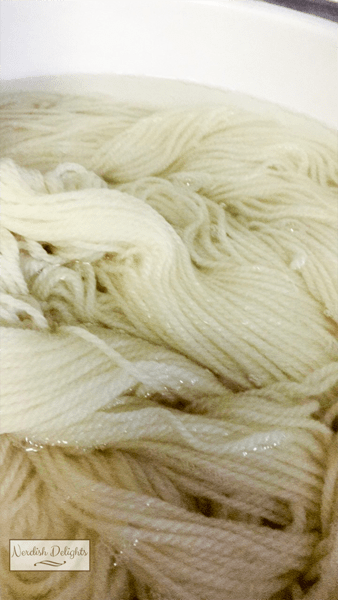
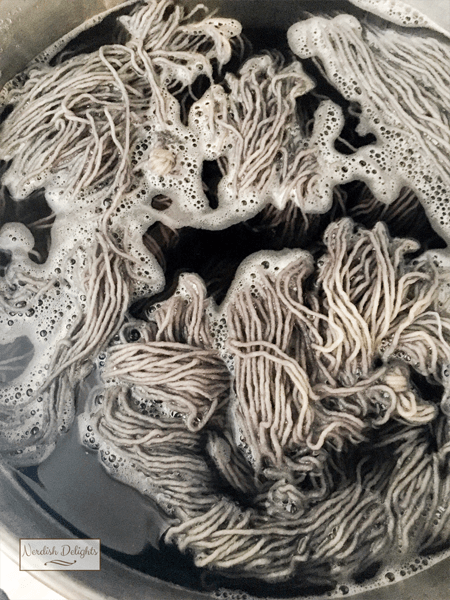
I soaked everything for at least half an hour in hot water with a squirt of dishwashing soap. I read that adding soap helps to prevent felting and dye absorption. It’s also important you don’t “shock” wool, by moving it from hot to cold, as that can also cause felting. I really didn’t want that.
I was doing solid teal for the cotton, and variegated for the wool. For the cotton, I had about 11 litres of water with 1 cup of salt. For the wool, I had about 4 litres of water and cup of vinegar. Different fibres require different mordants, which help with dye absorption. There’s this whole chemical side of things to learn about, but those were the two I focused on.
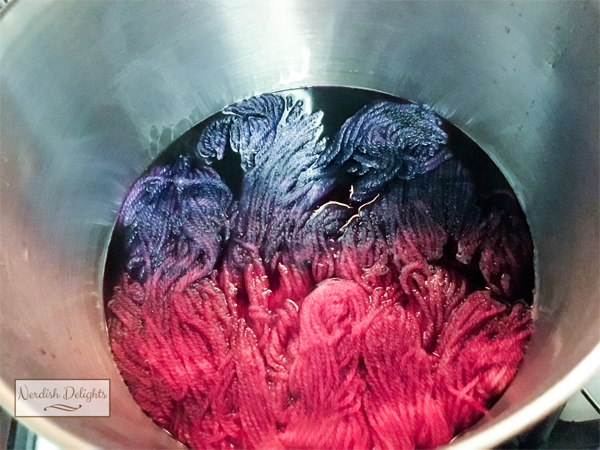
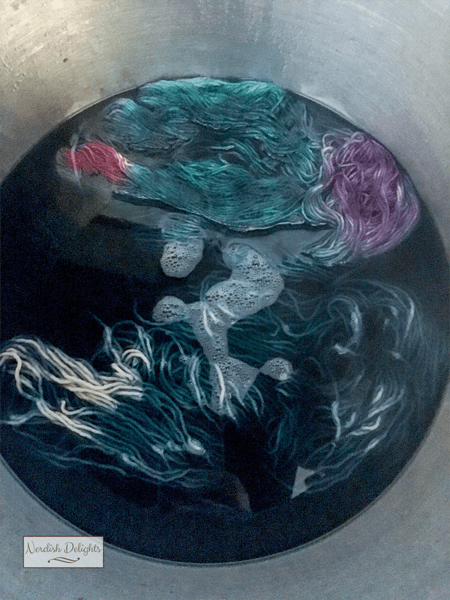
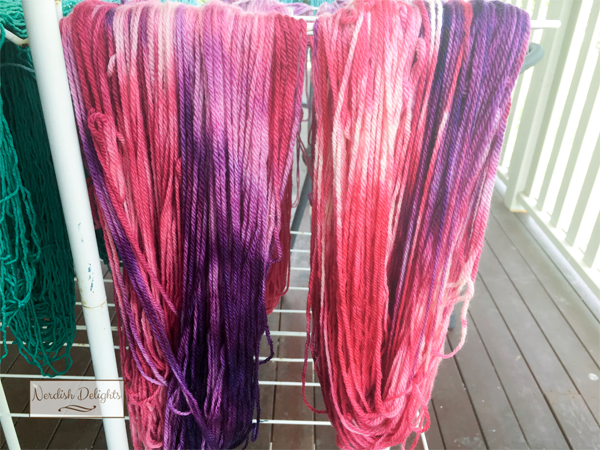
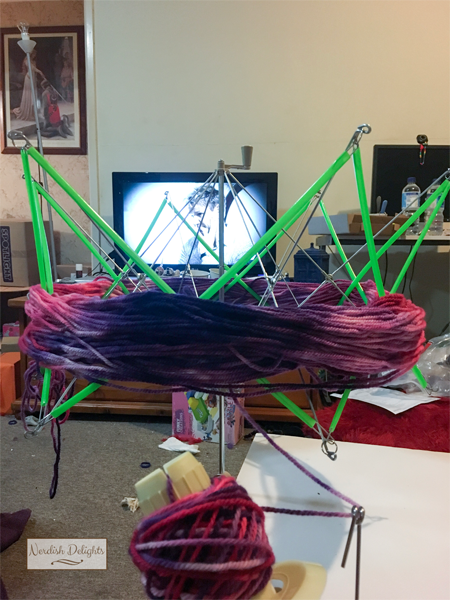
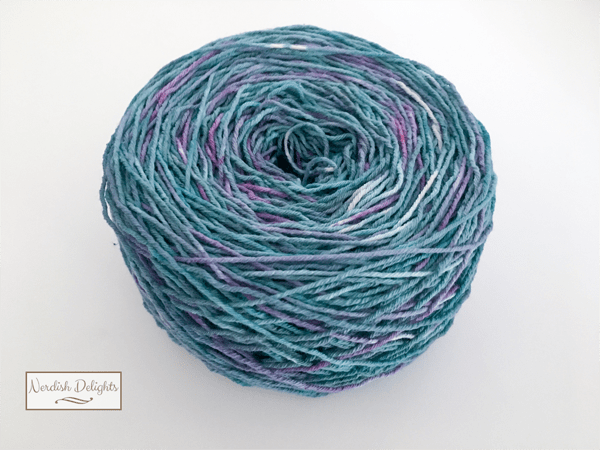
I attempted kettle dyeing for the wool, where you have enough water to cover the yarn so that the dye mixes as little as possible. As you can see, the purple and fuchsia kept pretty well to their own sides. I poked about it the wool a bit, to make sure the dye moved through, but I didn’t stir it. The Rit dye instructions do say to stir constantly, but as that’s another thing that can encourage felting, I didn’t do it. It also would’ve mixed the dyes, and I didn’t want that. I gave it the occasional poke about, but no more.
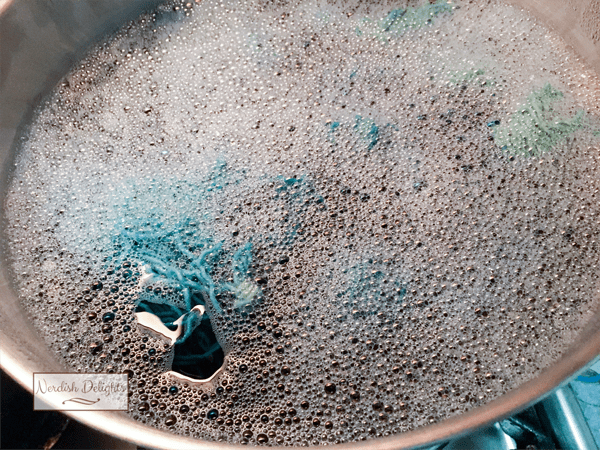
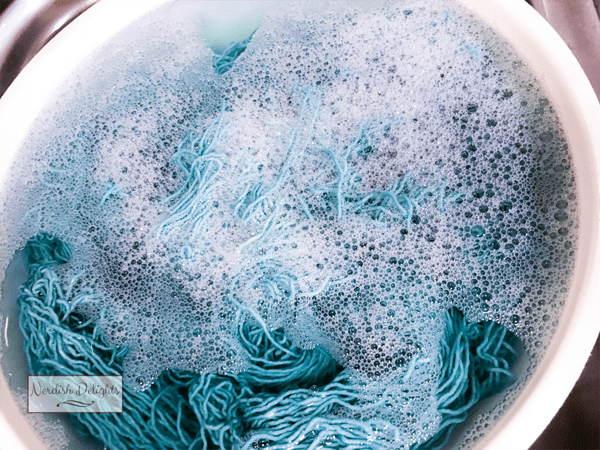
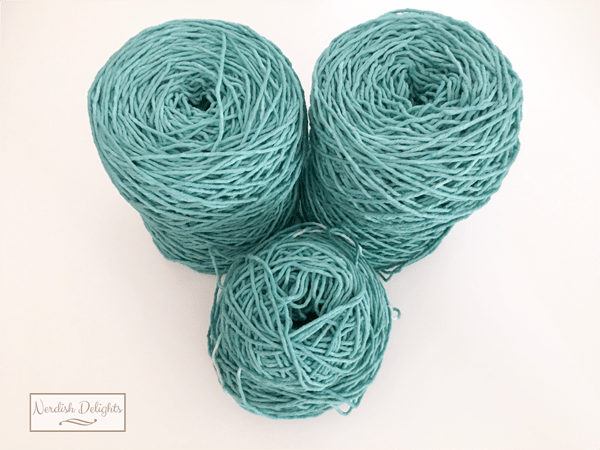
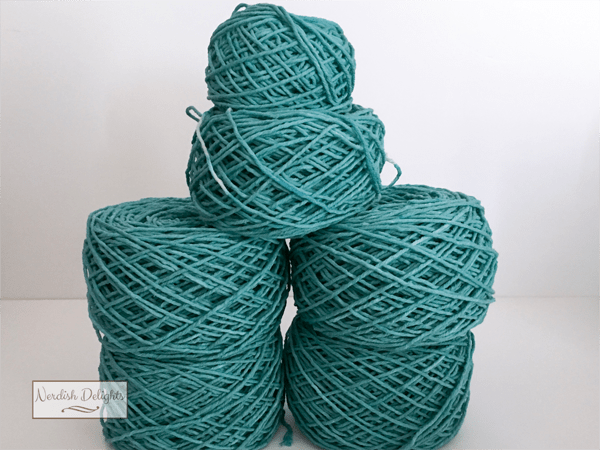
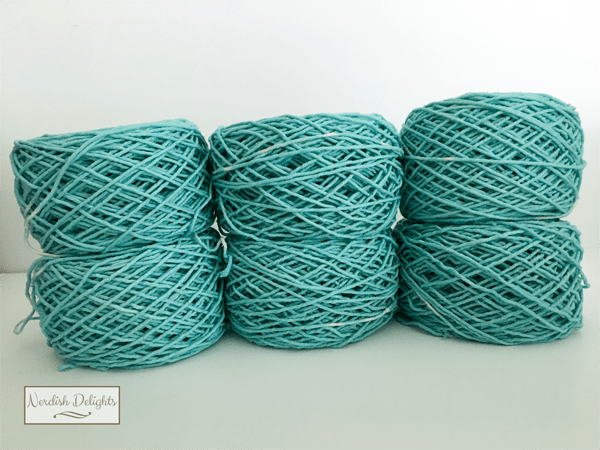
The teal was a lot easier, as I could drop the cotton in and give it a bit of a stir. As it’s cotton, it’s not likely to felt, but I didn’t want to overdo it. I would push it around and give it a stir every now and then, to make sure that as much of it would be as soaked as possible.
For both of them, I let the water heat to almost boiling, about 80ºC, before reducing the heat and adding things to it. Most of the sites I read recommend adding the dye then waiting a few minutes before adding the mordant, and then adding the yarn. That was fine for the cotton, but not the wool, so I added the vinegar before I added the wool.
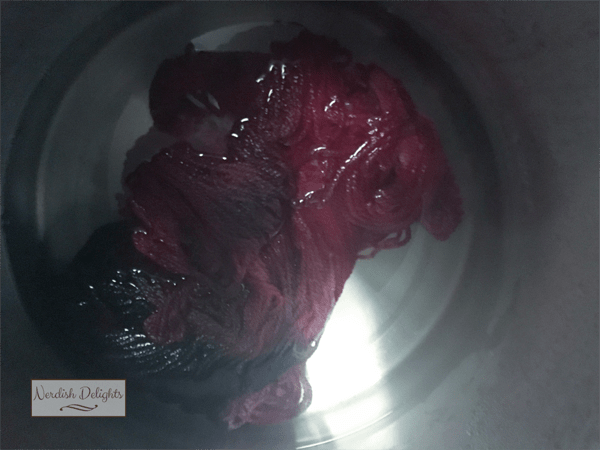
When the yarn has exhausted the dye – soaked it all up so the water is clear – it’s fine to remove. The wool did a fabulous job of this, as the water was clear. The cotton didn’t exhaust at all, and the water was still very green. I don’t know if it’s because cotton absorbs dye differently or if I did something wrong. But because there was so much teal left, and because I had a lot of cotton, I did a second batch by putting dry cotton straight into the dye. I left it soaking there without heat for about an hour. I didn’t mean to put it in dry, because I completely forgot to soak it, but it ended up being an interesting experiment.
The sites I read all agreed that you don’t want to shock the yarn and that you want to rinse it until the water runs clear. So each batch got rinsed and squeezed (but not rubbed, wrung, or twisted) in water that got progressively cooler. All up, each batch would have been rinsed at least five times. The cotton took longer to rinse clear than the yarn, but it eventually got there. A squirt of soap in the water also helped.
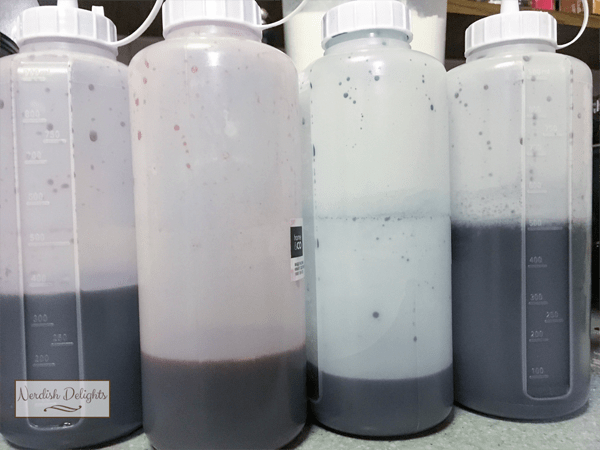
This is how much dye I had left afterwards. The grey wasn’t yet used, as I was waiting for the next batch.
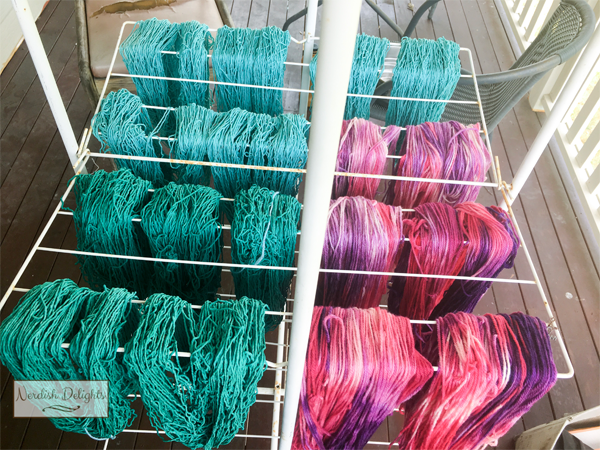
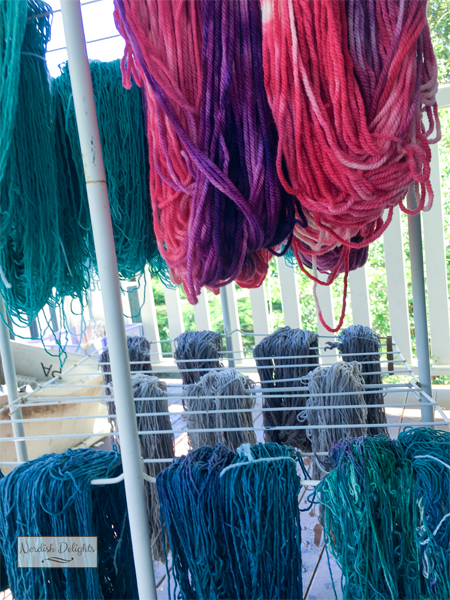
After it was all rinsed, I hung it out on the back deck on a clothes air dryer. I haven’t used it in years, and it was only used for drying my daughter’s paintings, so it seemed fitting to use it for this. I made sure there was space between each hank so they would dry evenly. I did two batches of each the first round, with the teal being much lighter second time around.
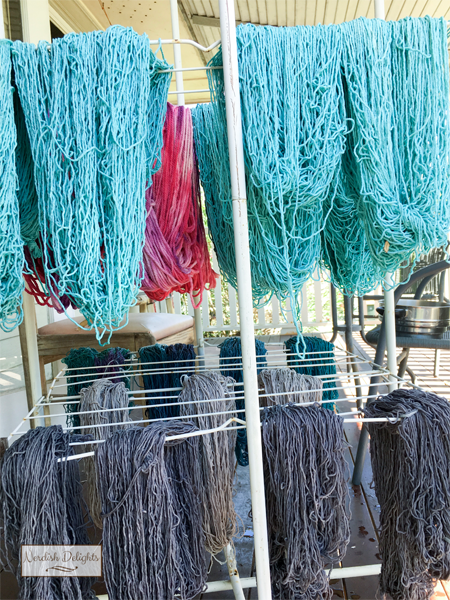
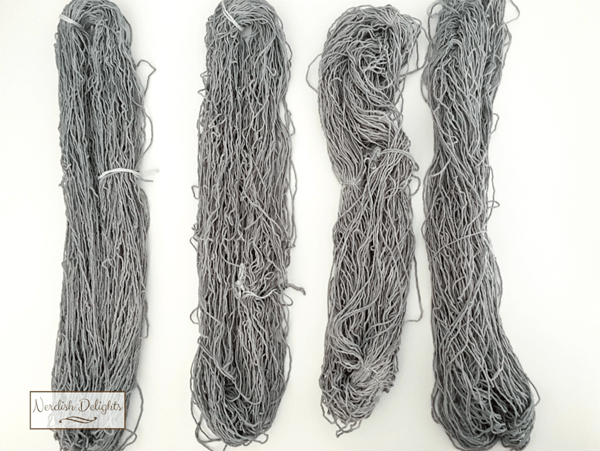
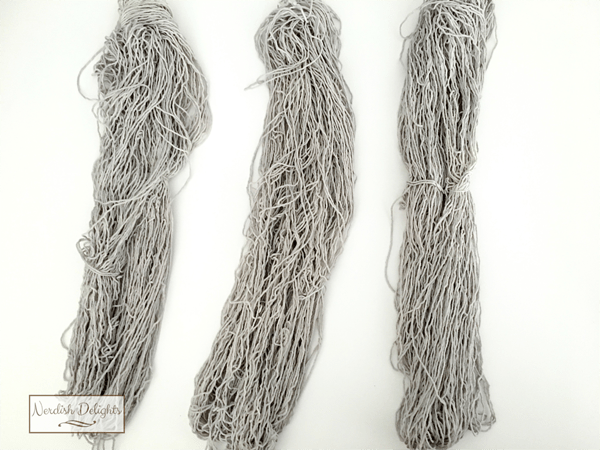
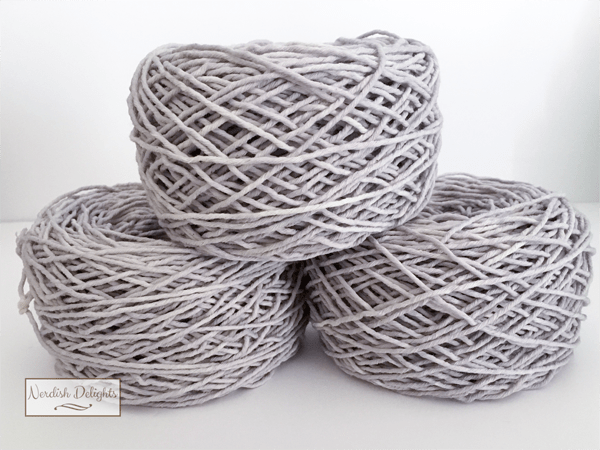
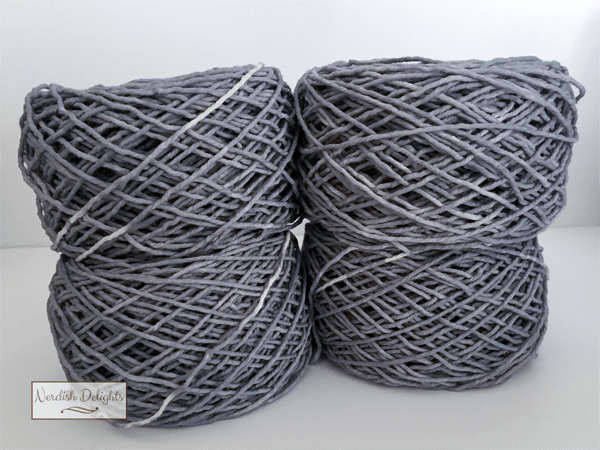
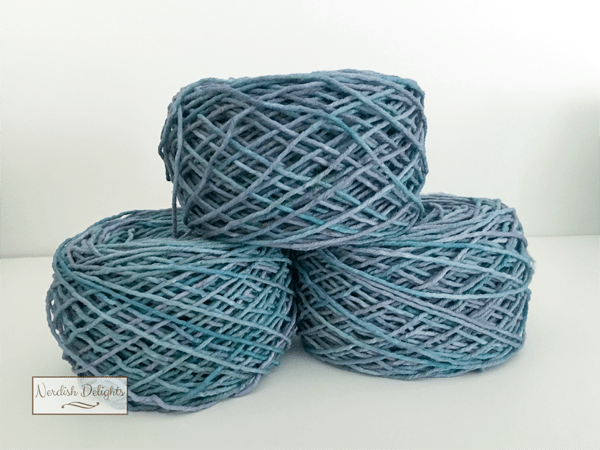
The next day I did two batches of grey, though this time I left the first batch in when I added the second. I did soak both lots of cotton this time, but the original batch was in with heat for half an hour, then no heat for another half hour. The second batch went in for that last half hour. This gave some differences in depth.
I also tried kettle dyeing again, but I had too much water in the pot, so the colours mixed more than I wanted. They still ended up pretty, but I had intended to have more variation.
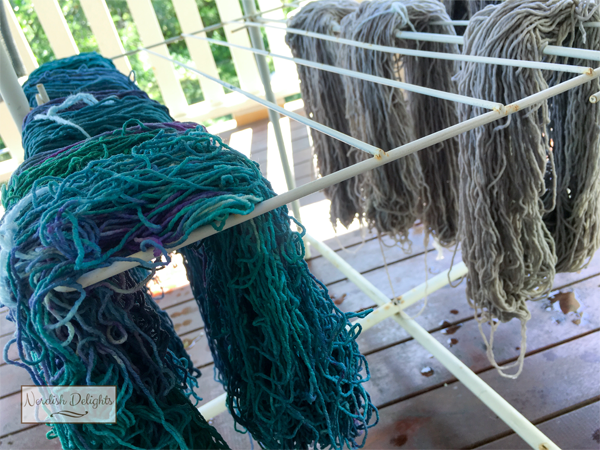
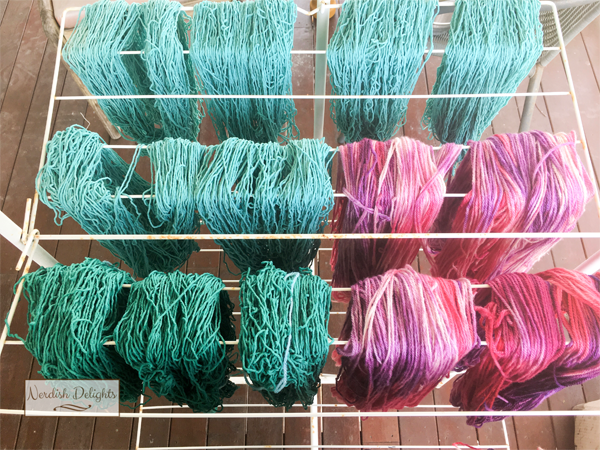
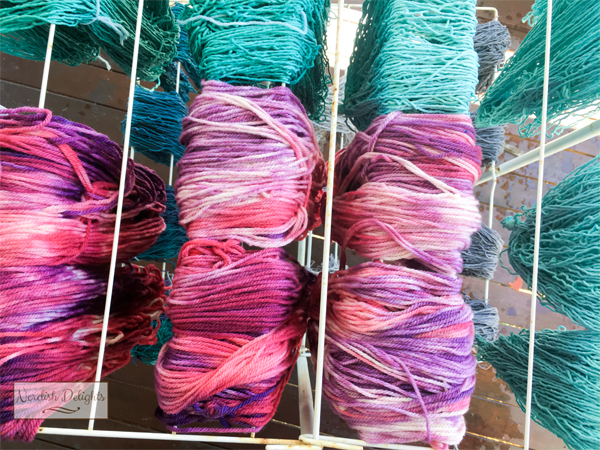
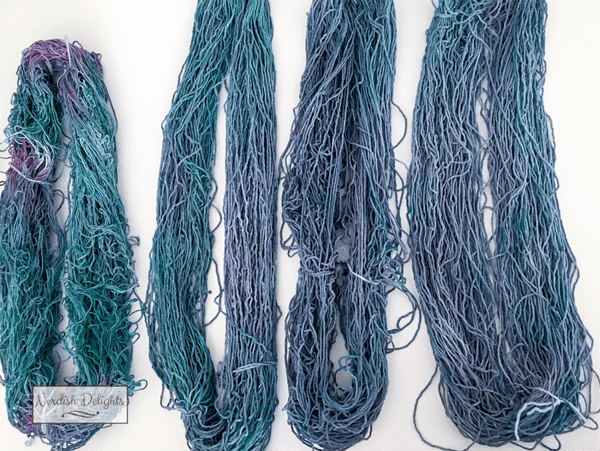
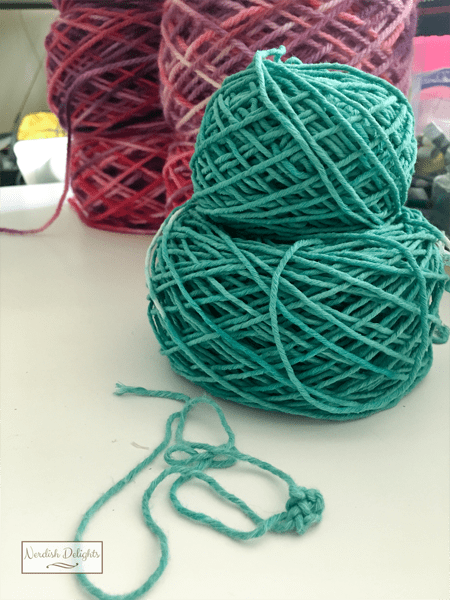
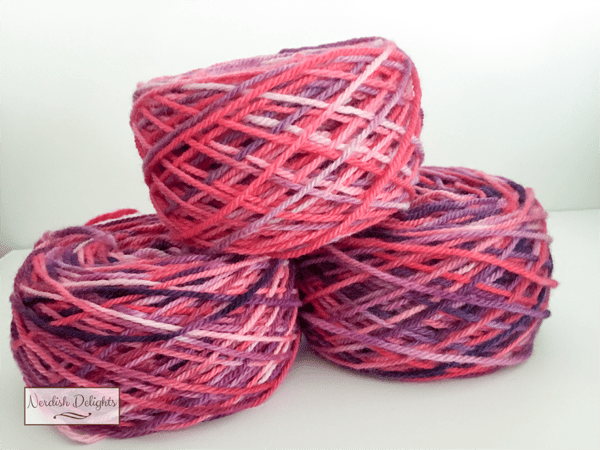
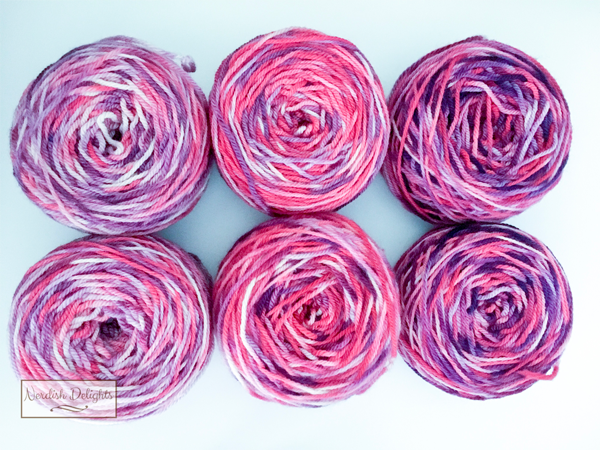
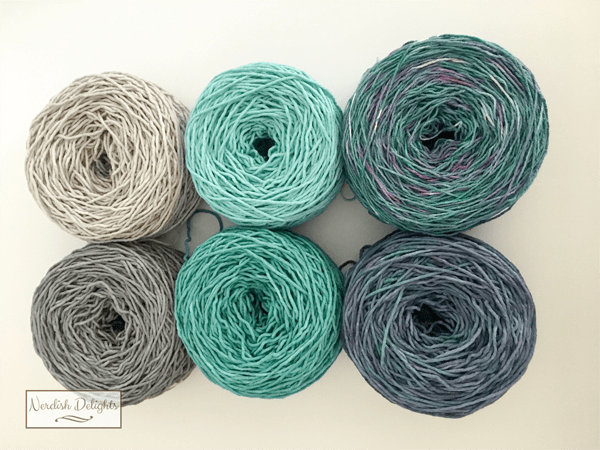
I really love the way they all turned out.There’s so much variation in depth and colour through them all, and it’s going to be so fun to work with.
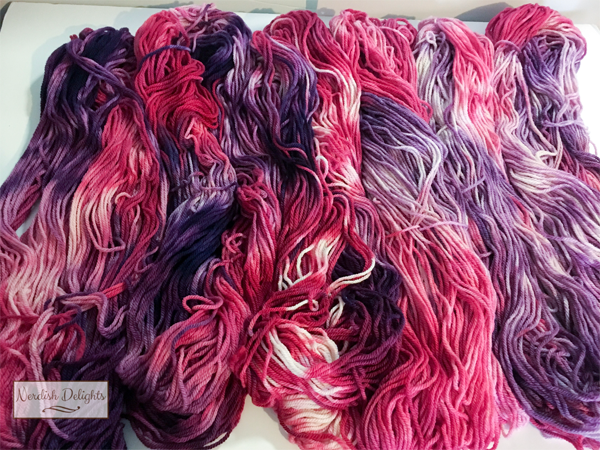

The yarn on the left in the image below is the 4 ply.
I did learn how important it is to have enough ties on the yarn before you dye it, as there were some issues with tangling through the caking process.
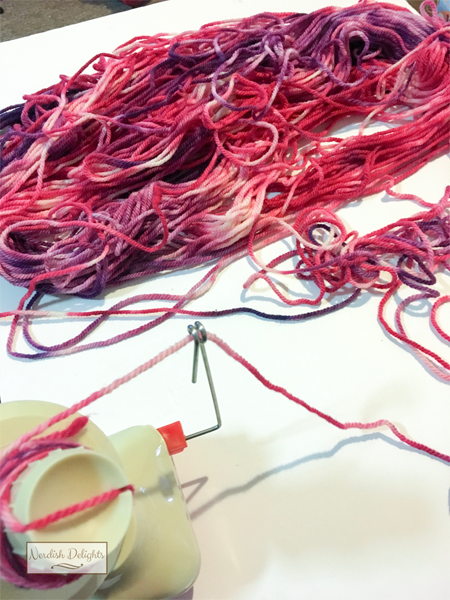
There were also issues with the arm moving me not paying enough attention, meaning that the yarn got wrapped underneath. I had to pull it apart to untangle it, which was better than undoing everything or cutting it.
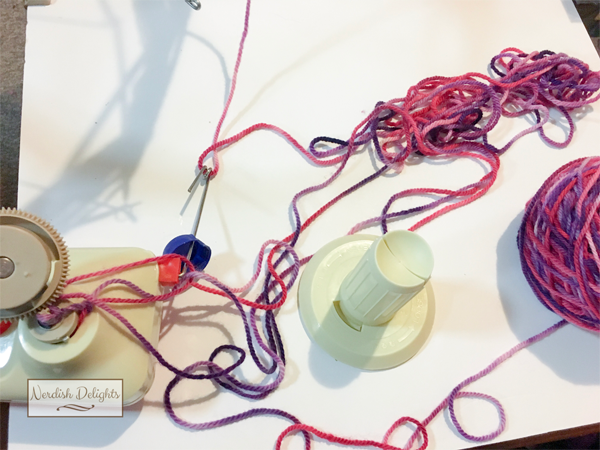
I don’t know how other people handle it, but the end of the yarn kept flopping about and twisting around the swift. I fixed this by using a hair clip to clip to one of the arms. This kept it out of the way, and as long as the yarn wasn’t twisted, worked wonderfully.
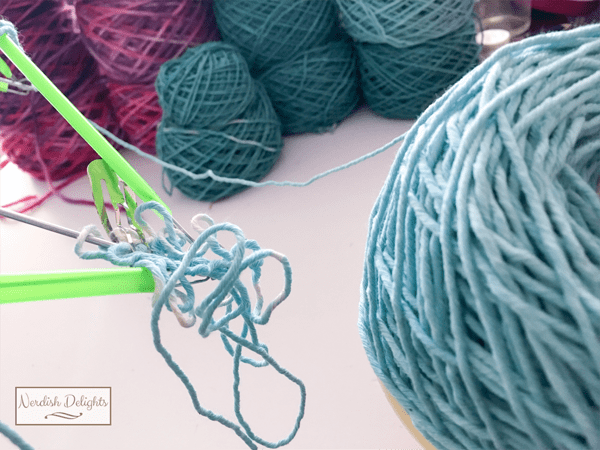
I did have major issues with the first teal cake, though. I got it twisted on the swift pretty badly (I learnt a lot from that!) and then when I was trying to fix it managed to tangle it all even more. I spent all. freaking. day. untangling it. It was a horrible, terrible, no good mess. I got to this point, this teeny, tiny knot was all that was left, but I could not get it undone. The yarn was also starting to come apart from overhandling it, so I said fuck it and cut it out. It’s not the end of the world to have to cut it, and it definitely made me feel better.
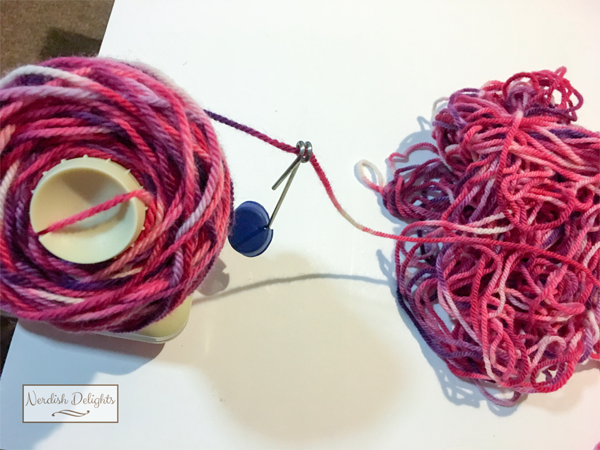
To solve the problem of the arm thinger moving on the winder, I used a lid with slits in the side to keep it in place. My MacGyver skills may need some work, but this definitely kept it in place most of the time. Every now and then I had to push it back down, but once that was on the winding went so much better.

I am really pleased with the results, and will be doing more dyeing soon enough. I have to restock my bare yarn first, and I also have to use some of my stash. I am halfway through a set of patterns I’m creating, which I’ll hopefully be done with soon. I have to write the patterns up properly and finish the second attempt of each. I might try some pattern testers with this, which I haven’t done before. I might be impatient and could just release them, too 🙂 I have a list of projects I want to get to, so I better get cracking with my current WIPs.
I’m pretty sure all the information I’ve given in regards to dyeing is correct, but if I’m wrong it was definitely accidental and it’s okay to let me know 🙂
I am planning on doing a post showing my yarn stash, too. I have posted some shots of it over at Instagram, but that’s just the end result. I have photos of the before and during, as well as what other goodies I keep there. I’ll hopefully get to that in the next few days.


